Shibari courses
Playroom
Shibari courses
Playroom
NEW:
Special offers
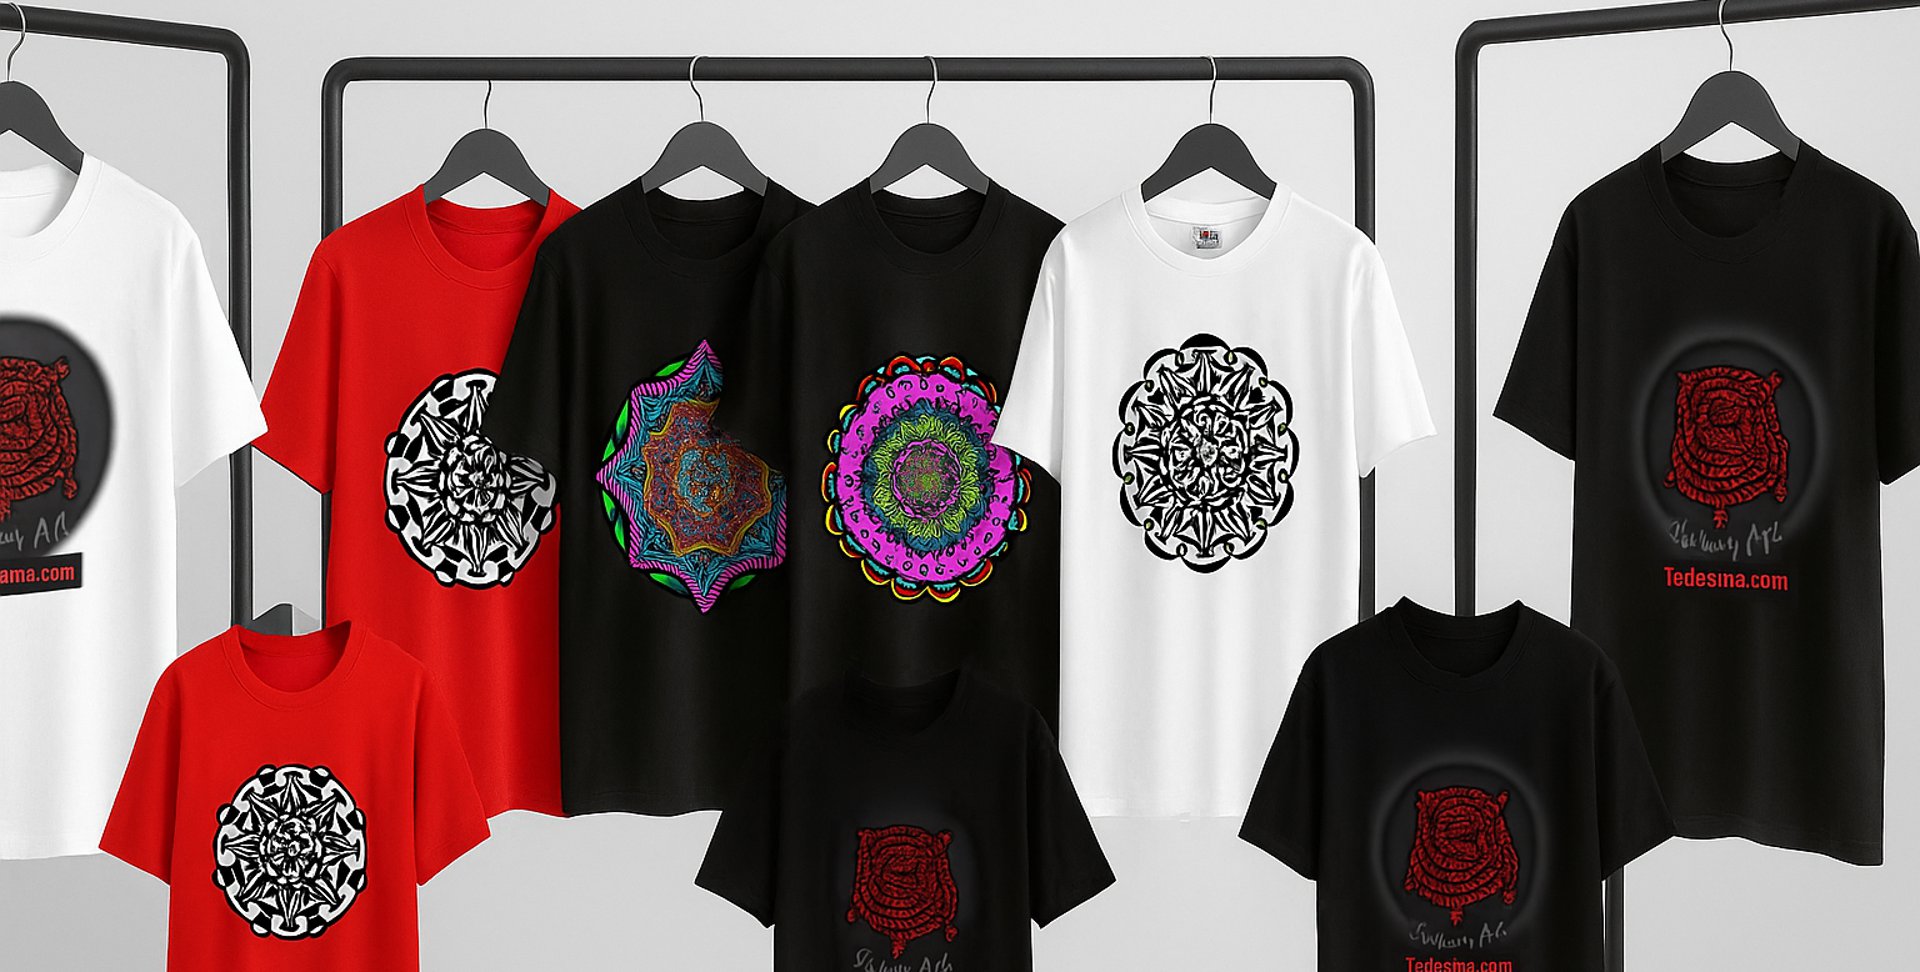
Discover my creative T-SHIRTS and TOWELS
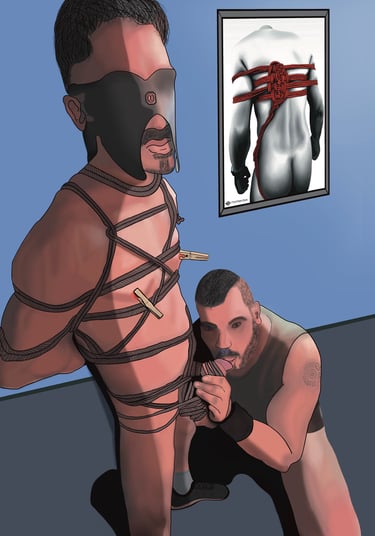
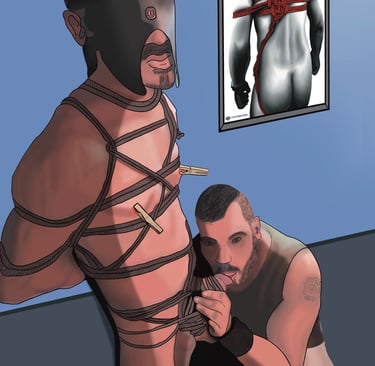
Shibari
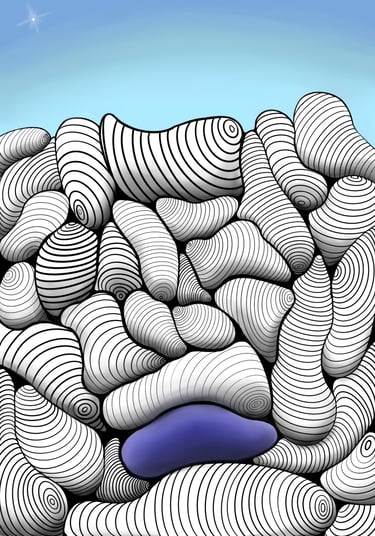
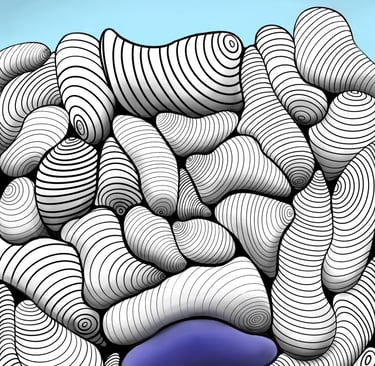
Explore my drawings
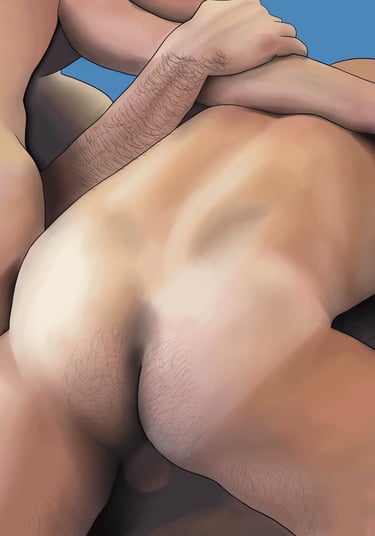
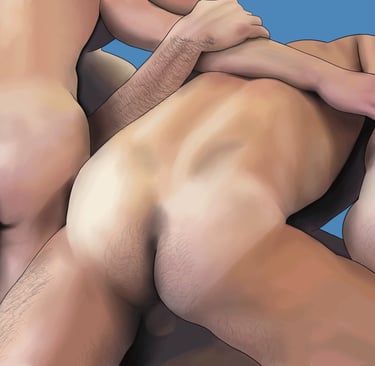
Porn
Erotic
Divers
Name*
Email address*
How can I help you?*
Send
Artistic homage to strings and male intimacy
TT@FFtish.club
© 2025. All rights reserved
Legal information